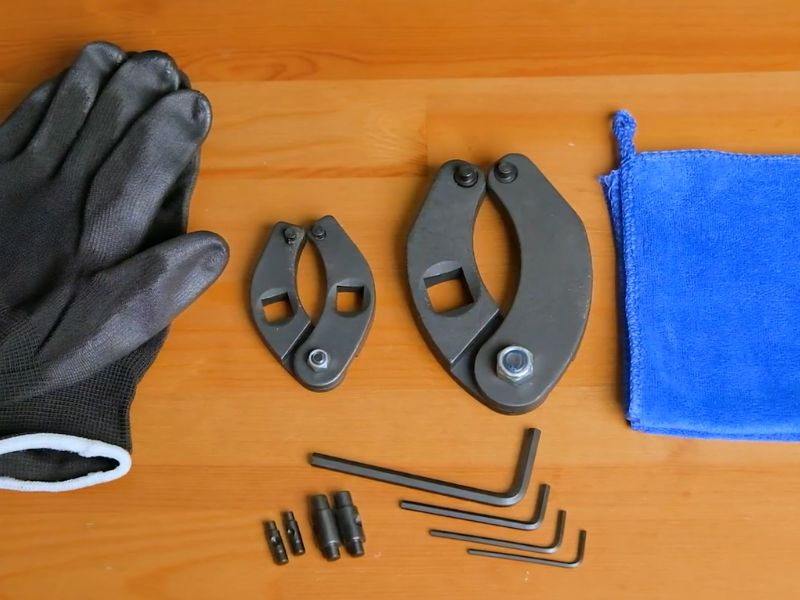
When preparing to repack hydraulic cylinders, having the right tools and materials is crucial for a successful and smooth process. First and foremost, a set of wrenches is essential. These wrenches will be used to disassemble the hydraulic cylinder and remove the piston. It's advisable to have a variety of sizes to accommodate different cylinder models.
To reiterate, when getting ready to repack hydraulic cylinders, ensuring you have the appropriate tools and materials at hand is key. A set of wrenches is necessary for disassembling the cylinder and removing the piston. Having wrenches in various sizes will help you handle different types of cylinders effectively.
Next, you'll need a seal kit. These kits include all the necessary seals and sometimes bushings for a specific hydraulic cylinder model. It's crucial to select a seal kit that matches the cylinder’s specifications to ensure a proper fit and prevent leaks or damage. Each kit typically contains piston seals, rod seals, O-rings, and other specific components required for the cylinder.
In addition to these primary items, several other tools and materials can make the repacking process more efficient. A rubber mallet is useful for gently tapping parts into place without causing damage. Snap ring pliers are essential for models with snap rings. Emery cloth is handy for cleaning the piston rod and other metal surfaces. Also, keep some hydraulic fluid on hand for lubricating the seals during reassembly.
Organizing your workspace is equally important. A clean, well-lit area with enough space to lay out all the parts as you disassemble the cylinder will make the process smoother. Keeping small parts in labeled containers can help prevent loss and confusion. Additionally, a clean work surface helps prevent contamination of the hydraulic system, which can cause significant problems later.
Finally, it's a good idea to have a cylinder manual or guide specific to your model. This can provide valuable information on the specifics of disassembly and reassembly, including the location and orientation of seals.
Before starting the repacking of a hydraulic cylinder, it's crucial to take several preparatory steps to ensure the process is both safe and effective. Safety is paramount when working with hydraulic systems. Make sure the system is fully depressurized before beginning any work. This usually involves releasing the hydraulic pressure in a controlled manner, following the instructions in the machinery’s operating manual. Wearing appropriate personal protective equipment, such as gloves and safety glasses, is also essential to protect against hydraulic fluid and debris.

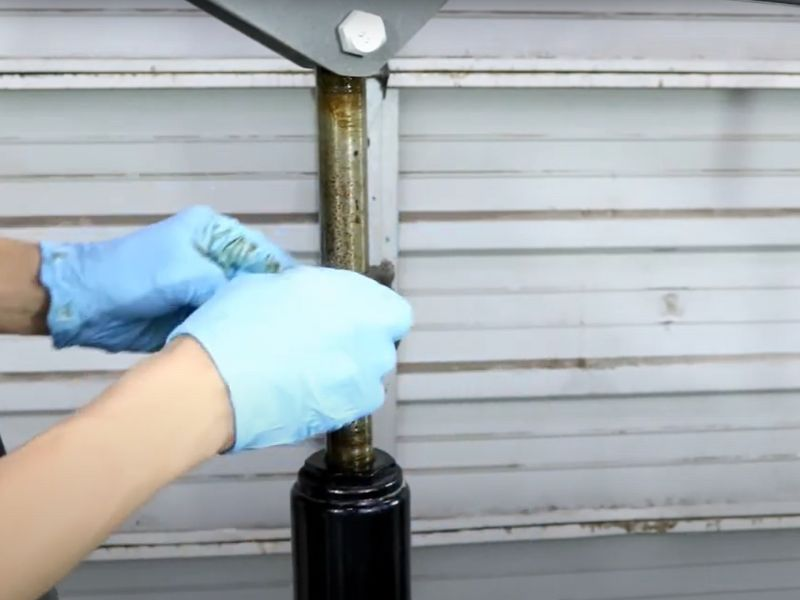
The next step involves a thorough cleaning and inspection of the cylinder. Start by cleaning the exterior of the cylinder to remove any dirt, grease, or debris that could contaminate the internal components during disassembly. Pay special attention to the rod and joints. Once the exterior is clean, inspect it for any signs of wear or damage, such as scratches or dents on the rod, which may indicate underlying issues.
Carefully remove the cylinder from the machine, ensuring all connections are securely disconnected. Then, methodically disassemble the cylinder. Start by removing the end caps, which are typically secured with bolts or snap rings. As you disassemble, pay attention to the orientation and location of each part; taking pictures or making notes can be helpful. Remove the piston rod from the cylinder barrel, then carefully separate the piston from the rod, noting the alignment of the seals and gaskets.
During disassembly, it is crucial to keep all parts in order and handle each part carefully to avoid any damage. Placing the parts on a clean, soft surface will help prevent scratches or other damage. As you disassemble, continue to inspect each part for wear or damage, making note of any components that may need additional attention or replacement.
By following these preparatory steps, you will establish a solid foundation for successfully repacking your hydraulic cylinders, ensuring the safety and efficiency of the entire process.

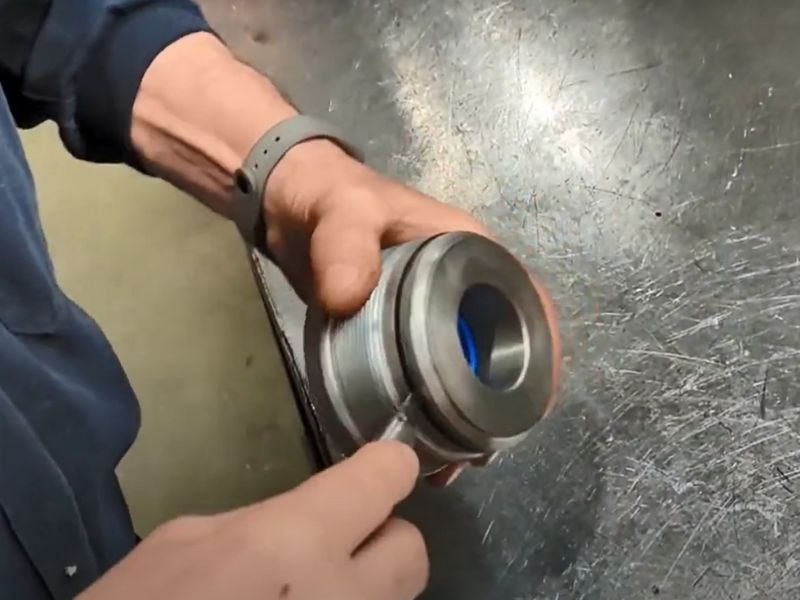
The first step in the repacking process is to remove the old seals. Start by locating the seal on the piston and the rod. Carefully use a seal removal tool or a flat-head screwdriver to pry out the seals. It's important to be gentle to avoid scratching the surfaces, as even minor damage can compromise the cylinder's integrity. Clean any debris or remnants of the old seals from the grooves where the new seals will be placed.
With the seals removed, it's time to inspect all internal components of the cylinder for wear or damage. Look for signs of corrosion, scoring, or pitting on the cylinder bore, piston, and rod. If any severe damage is found, the component may need to be replaced or professionally repaired. After the inspection, thoroughly clean all parts using a non-abrasive cleaner. Avoid harsh chemicals that could damage the metal or remaining seals.
Installing the new seals is a critical step. Start by lubricating the new seals with hydraulic fluid to ensure a smooth installation. Carefully place the seals in the designated grooves on the piston and the rod. Ensure the seals are properly seated; they should fit snugly without being overly stretched or pinched. A common mistake to avoid is twisting or rolling the seals during installation, as this can cause leaks.
Once the new seals are in place, it's time to reassemble the cylinder. Begin by reattaching the piston to the rod, ensuring it is securely fastened. Carefully slide the piston and rod back into the cylinder barrel, paying close attention to alignment to prevent damage to the new seals. Reattach the end cap, making sure all bolts are tightened to the manufacturer’s specifications.
After reassembly, it’s crucial to double-check that everything is aligned correctly and that all components are secure. This will ensure the cylinder operates smoothly and efficiently once it’s back in use.
The first step in testing is to reinstall the cylinder into its machinery. Ensure all connections are secure and the cylinder is properly aligned. Once installed, initiate a test run by operating the machinery at a low pressure to allow the new seals to seat properly. Gradually increase the pressure while monitoring the cylinder’s performance. Check for smooth operation of the piston rod and observe for any signs of fluid leakage. If the cylinder is functioning correctly, it should move smoothly without any jerks or stutters.
After repacking, several common issues may arise. One frequent problem is leakage, which could indicate that the seals are not properly seated or are the incorrect size. If leakage occurs, depressurize the system, disassemble the cylinder, and inspect the seals for proper installation and any potential damage. Another issue might be a reduction in the cylinder’s power or efficiency, potentially due to air trapped within the system. Bleeding the air from the cylinder can often resolve this.
Regular maintenance is crucial for extending the life of a repacked cylinder. Regularly check the cylinder for signs of wear or damage, especially focusing on the seals, and address any issues promptly. Keeping the hydraulic fluid clean is also important, as contamination can significantly damage the cylinder. Additionally, ensure that the pressure settings of the hydraulic system are correct, as excessive pressure can lead to premature wear of the seals and other components. Finally, adhere to a regular maintenance schedule as recommended by the manufacturer, and maintain a record of all maintenance activities for future reference.
By following these guidelines for testing, troubleshooting, and maintenance, you can ensure the longevity and optimal performance of your repacked hydraulic cylinder, thereby maintaining the efficiency and safety of your machinery.